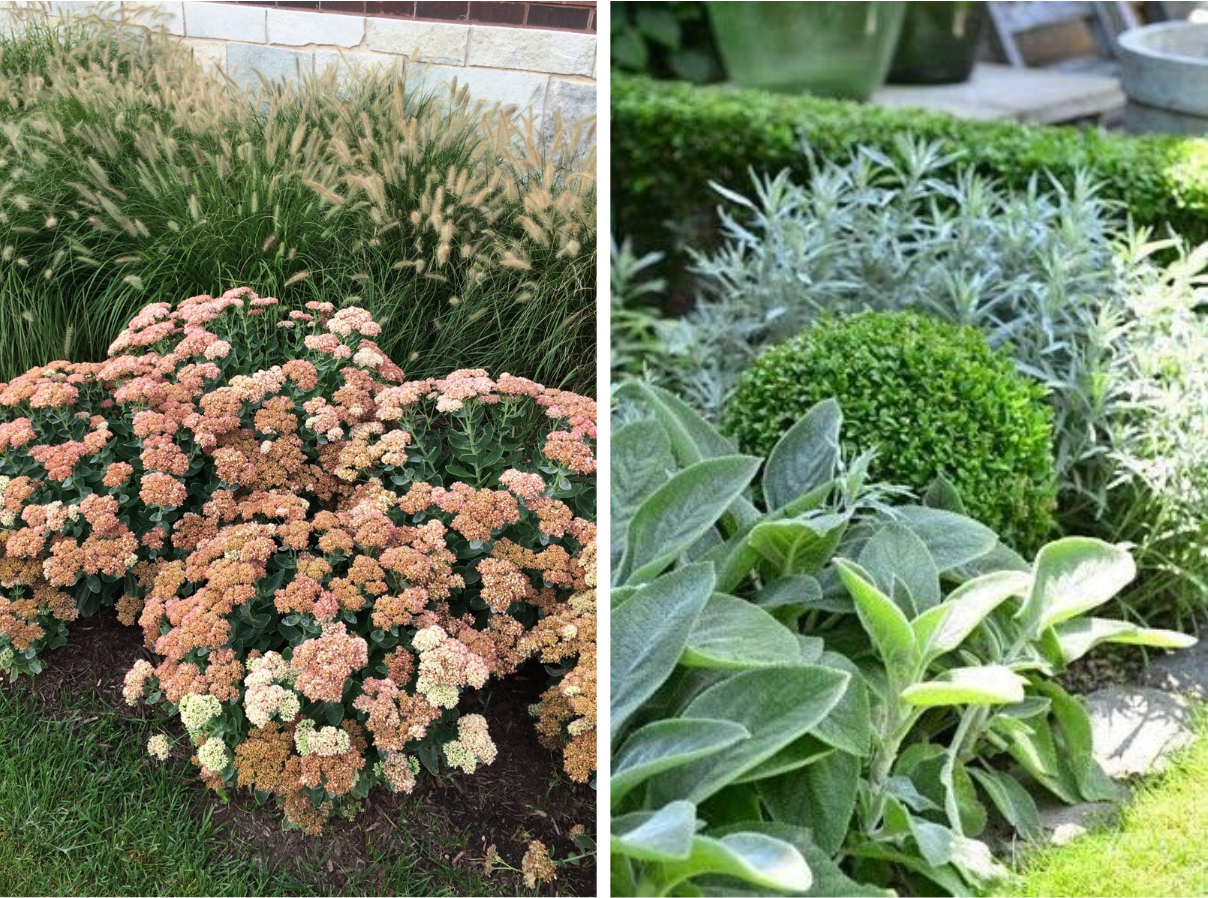
I don’t know if it will be my biggest relief or my biggest mistake taking on our home landscaping on my own. Haha. It seemed fairly easy when I first started the process, but I’ve learned that it gets a little stressful and complicated if you’re trying to do any sort of variation in your gardens! There are so many factors to consider with big $$$ on the line once you decide to pull the trigger on your decisions.
And the hardest part of it all – is that unless you’re spending the big bucks on more mature plants from the get-go, we don’t see these baby plants really start booming and doing their thing until year 3… so we wait in anticipation for a long time before knowing if your plan really worked liked you imagined. Yikes. *deeeeep breath*
I’m not trying to scare you – just giving some friendly warnings up front.
I wish I would have started my research and planning a lot earlier knowing what I know now. For the majority of plants, the opportune time for mass planting in your yard is late spring/early summer, after the risk of frost is gone and before the long hot days arrive. I learned you want to give your new plants a few weeks, at least, to settle and start stretching their roots in their new home before it gets too steamy outside. I didn’t start really taking my planning seriously until early April. I wish I would have given myself at least another month of time to go at a slower pace to research and decide exactly the right plants to buy. I felt a little rushed with only giving myself a couple of weeks to plan and then another couple of weeks to purchase and plant my entire front yard.


I started with really basic google searches, but I’ll share my favorite websites that I found myself turning back to over and over again throughout the entire process. But before you do anything, you need to find out what growing zone you live in. This will determine every decision you make and will automatically narrow your scope tremendously (in a good way) for what plant options you have for your yard. Some plants do not do well in certain climates, so as much as I loved a good California desert garden bed, I quickly learned those gorgeous plants don’t grow as well in my hot, humid Tennessee summers. For any type of designing, boundaries are nice to have. It makes the already overwhelming decision making process a tiny bit easier from the beginning.
A few other factors you’ll want to have top of mind as you start your research: what kind of light does your yard get, specifically where you are looking to plant? What time of day does it get sun, if any? What is your soil like? You’ll also want to consider what style you’re going for and start narrowing in on a color palette to help you narrow your options even more.
Here are some really helpful websites and blogs that helped me learn what I needed to feel confident planting my own landscaping:
and as always, Pinterest is a huge resource. What I found most useful about it is that it provided the best inspiration pictures for gardens. BUT it didn’t always have clear information about what plants I was looking at. So if you ‘right click’ on any image, you are given the option to “search image with Google”, and Google Lens will identify the plants for you! You can even adjust the size of the frame it’s searching within the image from Pinterest, in case you want to only identify one of the plants you see in the picture. Super handy. Then you can go in and see if the plant will work with the growing conditions you’re working with in your yard.

Canva was also a HUGE aid in this project. Anyone can have a free account, but there are some added perks for having a paid subscription (like the background eraser tool, which really helped in envisioning my plants in the space and layering things on top of each other). I just pulled in tons of images from Pinterest or these gardening blogs of the plants I was wanting to use, erased the backgrounds and started plotting them on top of an image of my house! We had already ripped out all the plants in our front beds, so I just snapped an image and pulled that in to use as the background. It really is such a user-friendly tool. Just find a way to size things appropriately so that you can proportion things somewhat realistically as you’re testing out designs. I used the measurements of their mature size, rather than the size they are when you plant them. You want to always plan with the mature size of the plant in mind.
To be honest, this was a big trial project for us that I’m not sure I’m completely satisfied with. We’re definitely dealing with some bumps in the road when it comes to wildlife. And it’s hard staring at baby-sized plants in your beds. My brain likes to start telling me that I didn’t buy enough plants or I planted them too far apart… but I know I just need to be patient and let another year go by before making ANY more substantial changes. The plants will keep growing and we can always continue to reevaluate as time passes and we get to learn more about how these plants take a liking to our yard.
So I guess I’ll keep you updated 😉

